Use tags for an easy way to group reviews in your review widgets. For example, you could tag the reviews related to a particular product or service and display those specific reviews on the product or service page of your website.
This article will show you how to add and manage tags.
Create Tags
To create a new tag, go to the Reviews page in your dashboard and click on "Add tag" at the end of the review you wish to apply the tag to. Then, type out the tag in the blank text field.
As you type, you'll see a drop-down with existing tags that match what you're typing. Click on a tag from that list to select it, or keep typing.

Hit return (enter) if you're typing the tag name in to add it to the review. You can add as many tags as you’d like!

Use Tags in Reviews Widget
Now that you have created tags and tagged some reviews, it's time to set up a widget that displays those reviews.
Head over to the Widgets page and create a new widget or edit an existing widget you have. In the widget editor, locate the Tags field under the Settings tab, then type in the tag name and select it from the drop-down list.
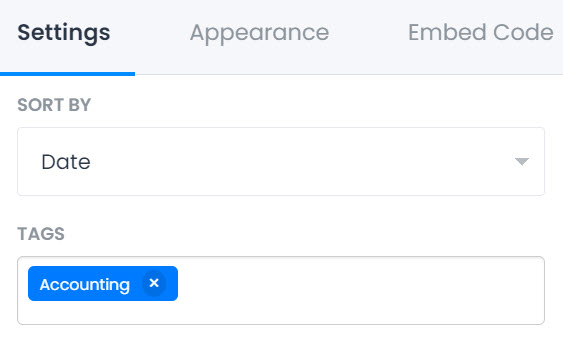
Now only the reviews tagged with this specific tag will be included in this widget.
Click the Save button to apply the changes and you are done!