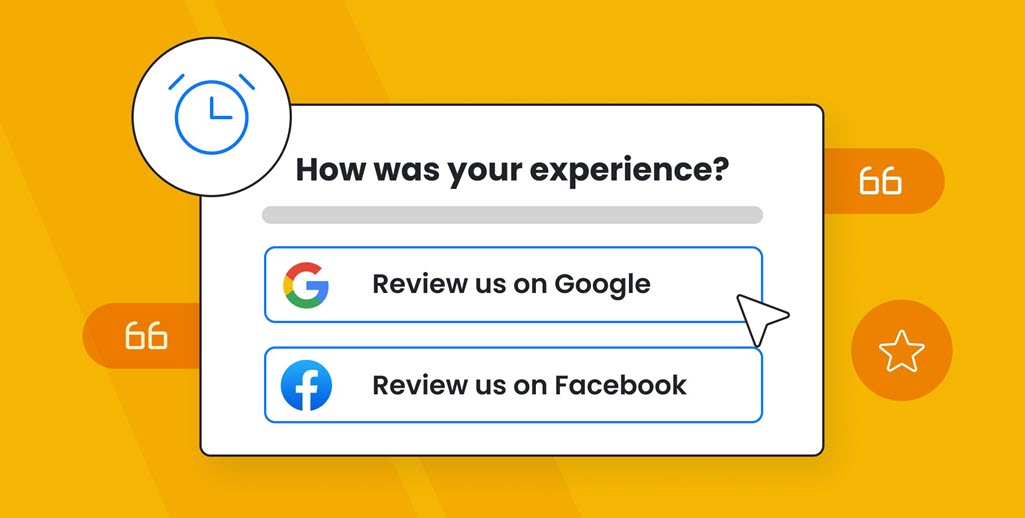
Potential patients will look up your practice online before they decide whether to book a visit. This makes it crucial that you have a pristine online reputation.
And here’s why: 88.3% of consumers have avoided a business after reading negative reviews, making reputation damage something you can’t afford to ignore.
Keep on reading to learn everything you need to know about online reputation management for doctors.
What is online reputation management?
Online reputation management (ORM) is the process of curating your online presence to have a positive impact while mitigating any potential negative drawbacks.
Monitoring and curating your practice’s public image involves tracking reviews, interacting with patients, responding to patient feedback, and promoting positive content.
The importance of online reputation management for doctors
While it’s easy to believe doctors have a stellar reputation, that’s not always the case. A bad interaction, billing issue, insurance complaint, or rushed visit can damage an otherwise spotless reputation.
Actively managing your online reputation leads to:
- Elevated trust, credibility, and authority – A positive online reputation positions your medical practice as a leader in patient care. It also highlights your expertise and area of specialization, improving your visibility.
- Higher new patient rates – Patients looking for a new provider look for social proof before making appointments. Your positive online reputation attracts new patients, ultimately growing your practice.
- Reduced damage from negative reviews – Interacting with reviewers who leave negative comments gives you the chance to respond and apologize. Taking the initiative to repair relationships with your patients can protect your reputation and prevent patient churn.
- Boosted team morale – People take pride in their work and want recognition for a job well done. Positive online reputation and high customer satisfaction boost pride levels, bringing a sense of accomplishment to your team and, in turn, leading to a better patient experience.
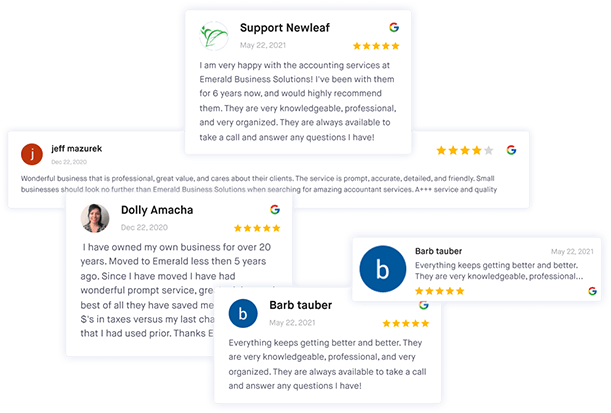
Improve your online reputation
Use ReviewsOnMyWebsite to manage and improve your practice's online reputation with ease.
5 online reputation management tips for doctors
Follow these five tips to get started on improving your online reputation.
1. Claim your Google Business Profile listing
Your Google Business Profile (GBP) is the first snapshot of your practice when a patient searches in your area on Google Maps.
It shows details like hours of operation, location, busy times, a link to your website, phone number, and, of course, patient reviews.
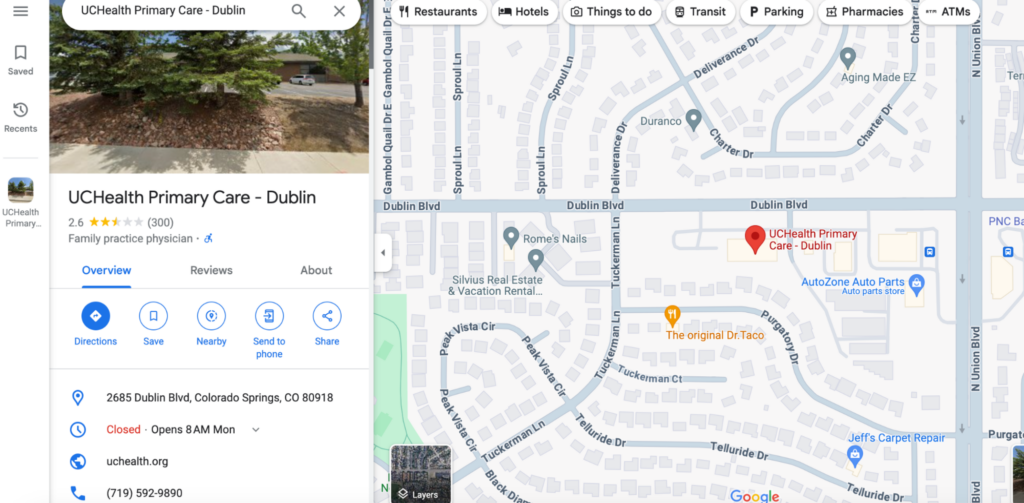
Claiming your Google Business Profile puts you on the map (literally), exposing your office to greater local visibility and offering patients a point of engagement.
Follow these steps to claim your Google Business Profile:
Step 1: Log in to your Google account. Head over to google.com/business and sign in with your business’s Google account.
Step 2: Enter your practice’s details. From your business dashboard, click “Manage Now” and enter details like practice name, phone number, address, and website.
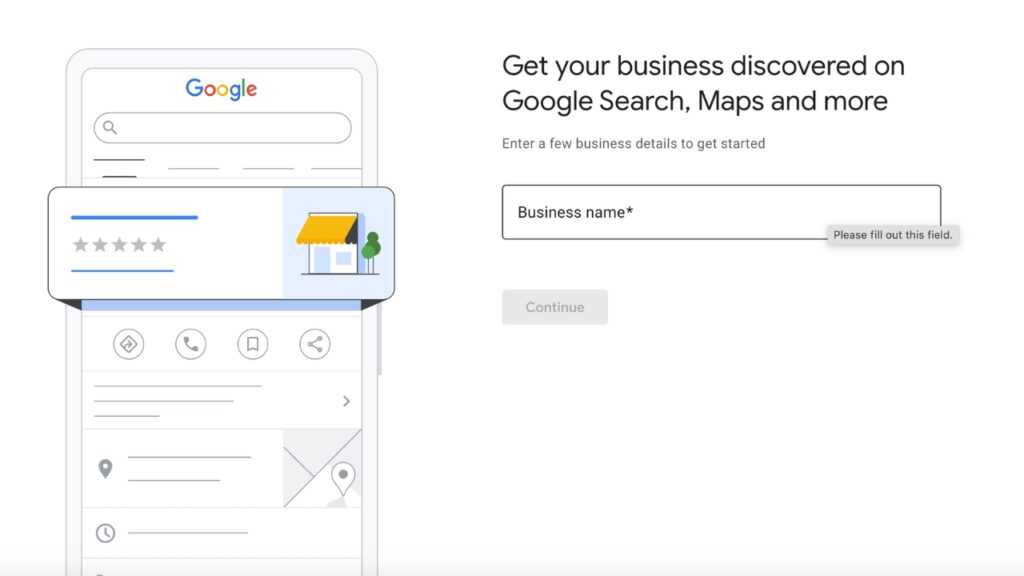
Step 3: Verify your doctor’s office. Google will send you a postcard (via mail) or give you a phone call to verify the details of your practice.
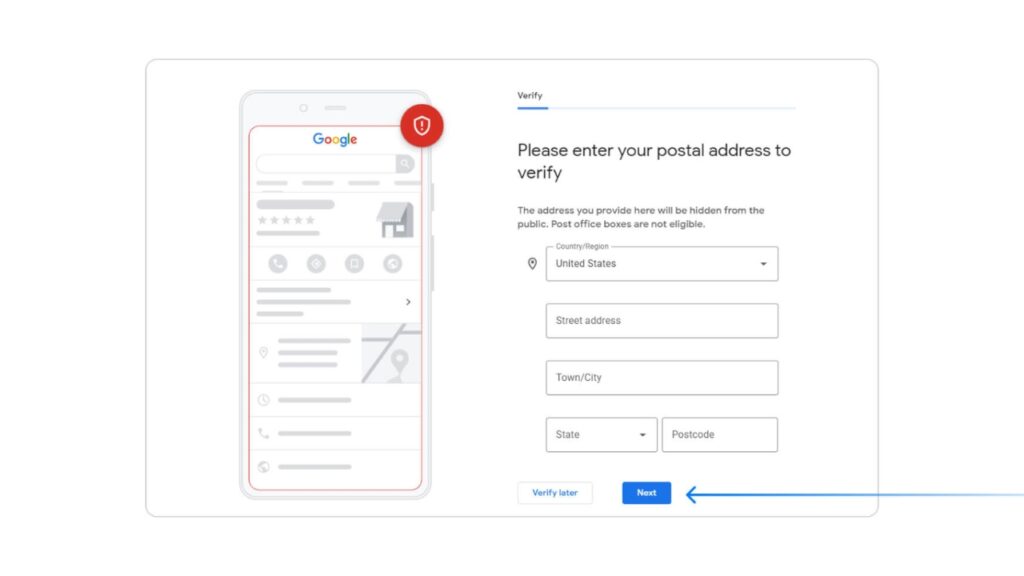
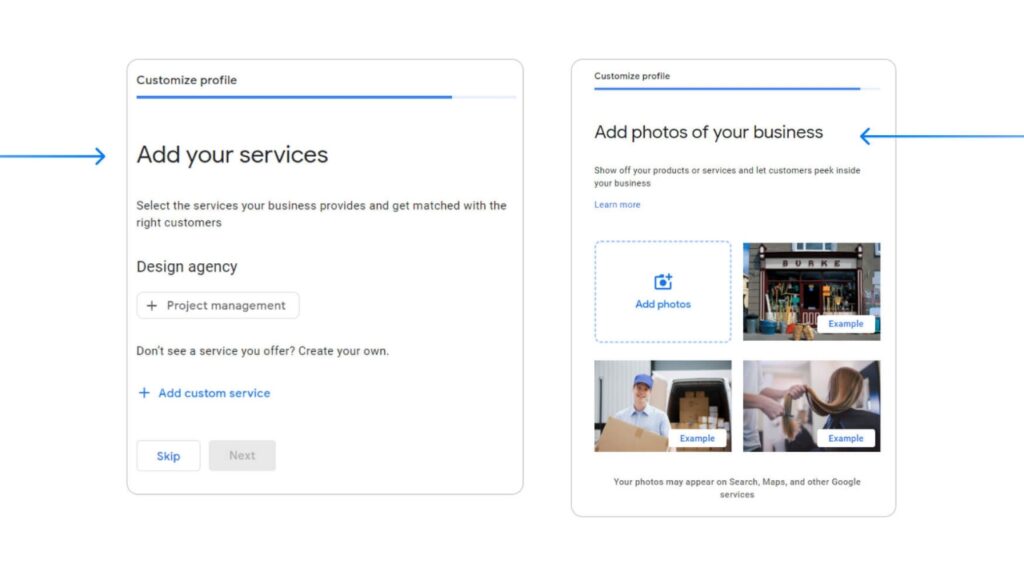
Step 4: Optimize your practice’s page. Add photos and other details about your practice to help attract new patients.
2. Monitor reviews across relevant platforms
In order to manage your online reputation, you need to know what patients are saying about you online.
As a doctor, you may receive patient reviews across a variety of platforms, including:
- Yelp
- Healthgrades
- RealSelf
- WebMD
- Zocdoc
- Vitals
While monitoring all of these platforms manually can be quite a chore, you can use a tool like ReviewsOnMyWebsite to get notified as soon as you receive a new review.
All you need to do is connect your review platform accounts to ReviewsOnMyWebsite and then enable notifications by going to Profile>Notifications.
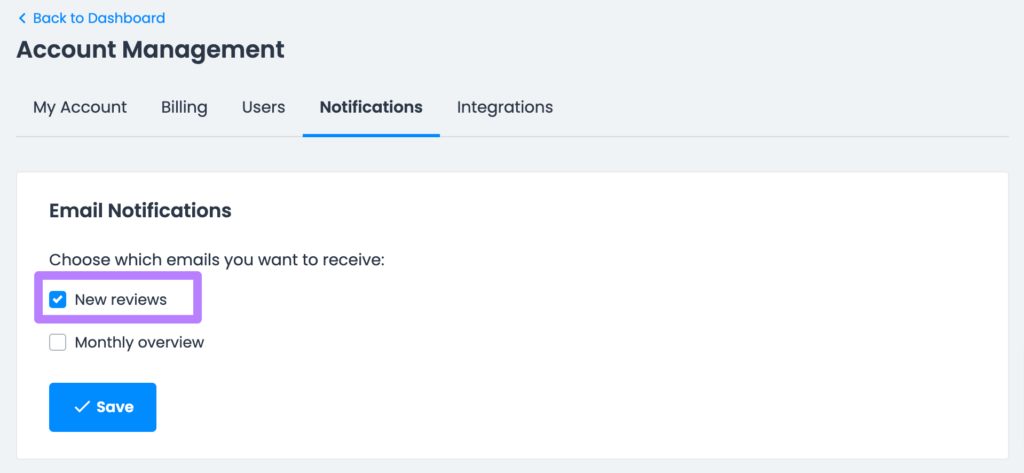
Now, you’ll get an email notification as soon as you receive a new review on any platform.
3. Reply to every review
Engaging with reviews shows that you have an interest in how your patients perceive your practice or clinic.
Responding to all reviews, positive and negative, keeps the conversation with your patients alive.
It allows you to thank them for visiting your office and strengthens your relationship with them, making it comfortable for patients to return for future healthcare needs.
Responding to positive reviews
Leaving a review takes effort. Acknowledge that effort by thanking the reviewer.
Remember a few basics when responding to positive reviews, such as:
- Use names whenever possible to personalize your response.
- Point out and respond to specific comments to avoid an overly generic response.
- Show appreciation for kind words.
- Encourage your patients to choose your practice in the future.
Here’s a good example response to a positive review:
“Hi Jane, Thank you so much for choosing UCHealth! We’re happy to hear that our examination rooms were clean and well-stocked.
Patient comfort is a top priority, so it's great to hear that you felt comfortable in an uncomfortable situation. Don’t be shy to stop by anytime something feels off!
Responding to negative reviews
Responding to every negative review you get is crucial. But, you need to do it tactfully.
Always remain professional, as even the most outrageous story can have some truth. And always offer to make things right.
Working toward a resolution allows you to repair any damaged relationship with your patient before negative sentiment leads to a damaged reputation.
Responding to a negative review can sound something like this:
“Hi David,
We’re sorry to hear that your last visit was unpleasant. Our office prides itself on prompt check-in and on-time appointments.
There’s no excuse to leave you waiting for half an hour for your visit, and we’d love to make it right. Please contact the office so Dr. Smith can speak with you personally!”
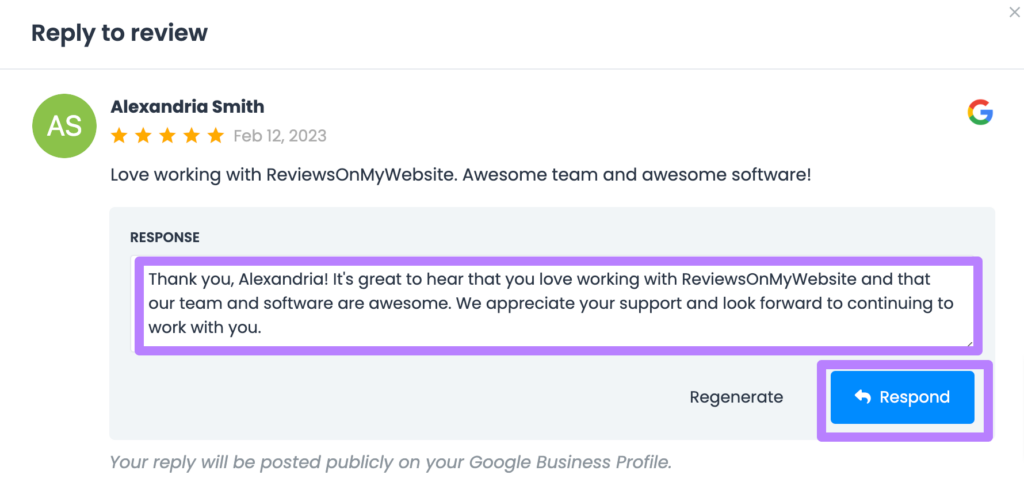
Pro tip: You can use ReviewsOnMyWebsite to reply to all the reviews you get from a single place.
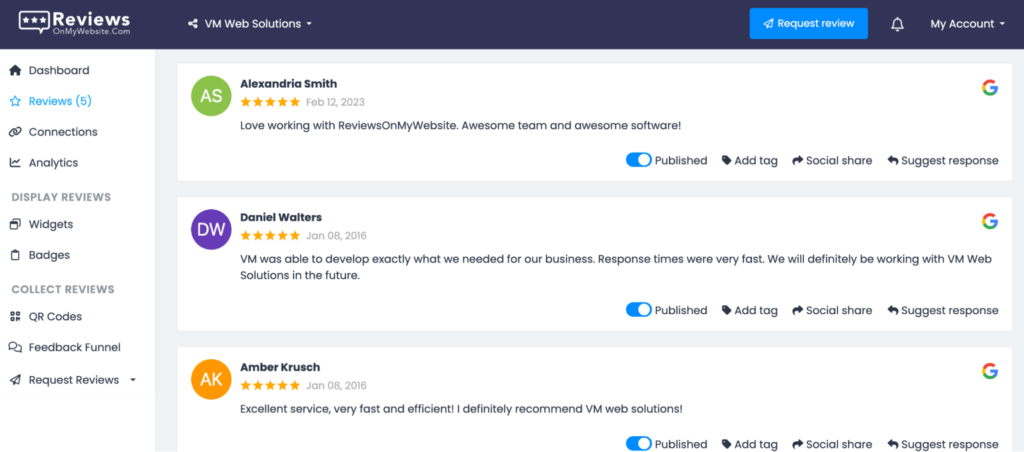
And even generate a personalized response using AI by clicking on “Suggest response.”

If you’d like, you can also revise the response. Once it looks good, click the “Respond” button to publish it.
4. Get more reviews
The more positive reviews you have, the more trustworthy you’ll appear to potential patients.
Follow these tips to generate more reviews for your practice.
Ask patients to leave reviews
Most doctor’s office visits require patients to check out after their visit, giving you the perfect opportunity to ask for a review. In fact, 69% of people will leave reviews just by you asking them for one.
As part of the checkout process, have front desk agents ask patients to leave a review with comments about their visit. Asking for reviews at checkout is an excellent way to prompt Google and Yelp reviews.
Be sure to keep patients’ information safe by keeping review requests generic. Avoid asking about specific details from their visits, conditions, prescriptions, and health details when asking for reviews of your clinic.
You want to remain HIPAA compliant and protect your patient’s private information.
Use email and SMS reminders
If asking for reviews at checkout is impractical, you can always send patients a follow-up email or SMS message.
You can use these messages to thank patients for their visit and ask for their thoughts.
ReviewsOnMyWebsite can help you automate email and SMS review requests, allowing you to generate more reviews for your practice on autopilot.
These are very easy to set up—all you need to do is visit the Autoresponder section.
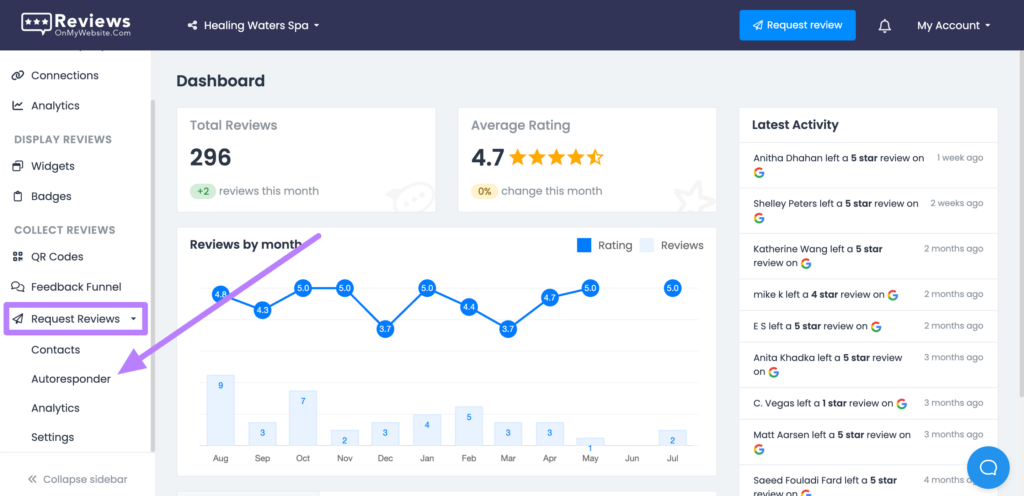
From here, click on “Add message.”

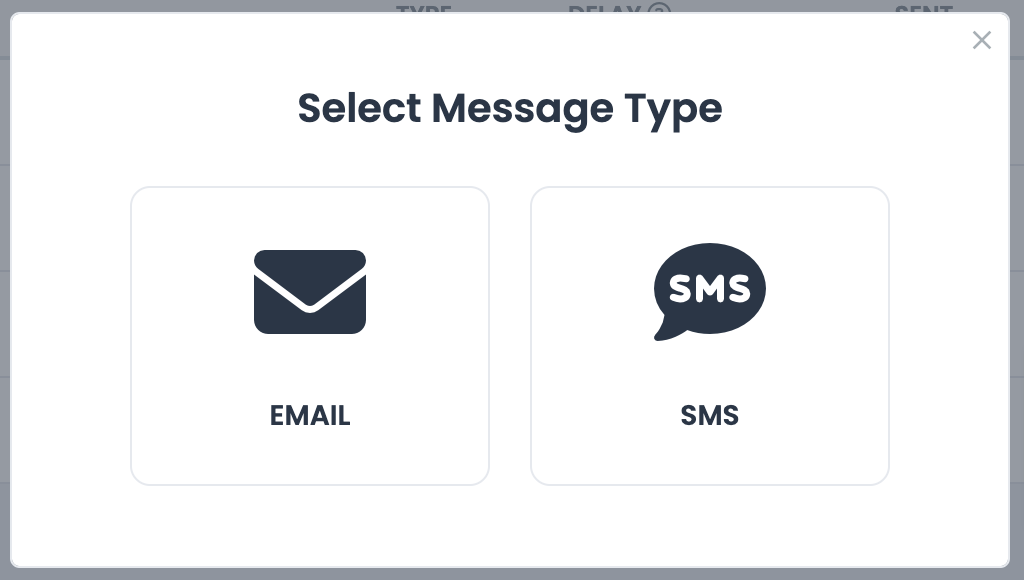
Choose between an email or SMS sequence.
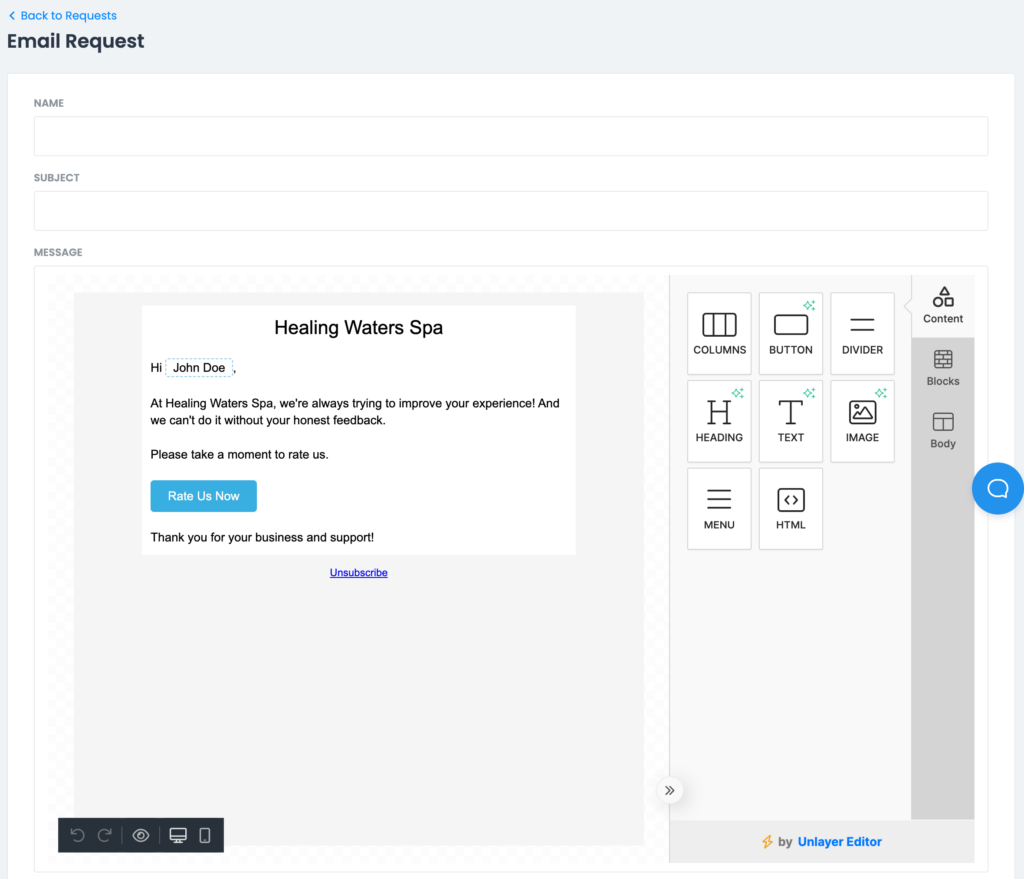
Then, customize your message.
You can also choose a delay for your review requests.

Finally, set the status to “Published” and hit “Save” to activate your sequence.

Improve your online reputation
Use ReviewsOnMyWebsite to manage and improve your practice's online reputation with ease.
Create a QR code
QR codes are barcodes that allow your patients to scan a coded image with their smartphone, directing them to a survey.
They are simple to set up, and most smartphone cameras have built-in support, making it easier to navigate to a survey than typing in a website.
QR codes can direct patients to any number of tools, like appointment scheduling or surveys. Placing one next to your receptionist can help capture responses while patients wait.
ReviewsOnMyWebsite’s QR Code Generator can create these codes in minutes, so you can start capturing more responses today. Here’s how:
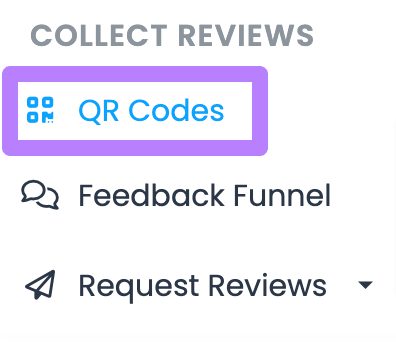
Visit the “QR Codes” section.
Click on “Create QR code” on the next page.

Enter a name for your QR code. Next, select the “Custom link” option and paste in the URL of the page where patients can leave a review for your practice.
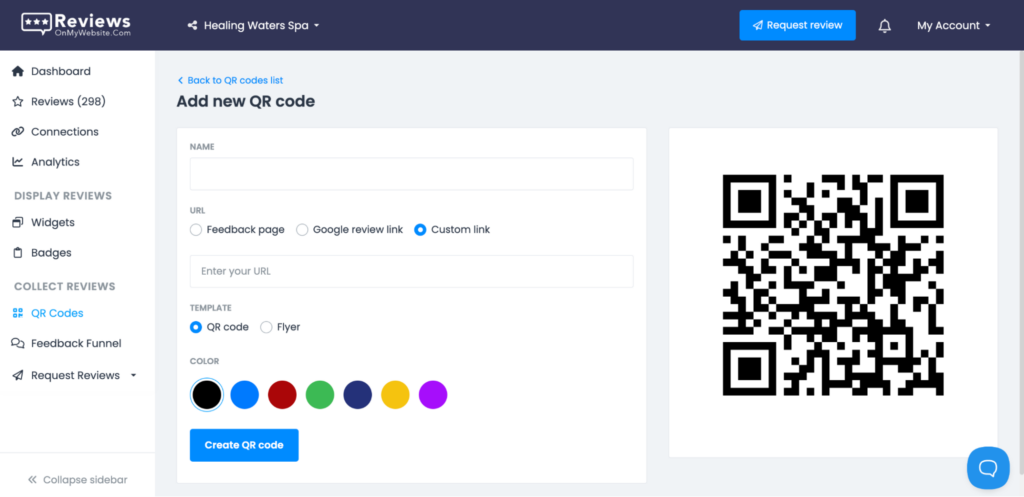
Choose a color for your QR code. And then click the “Create QR code” button.
Finally, click on “Download QR code.”
5. Display top reviews on your website
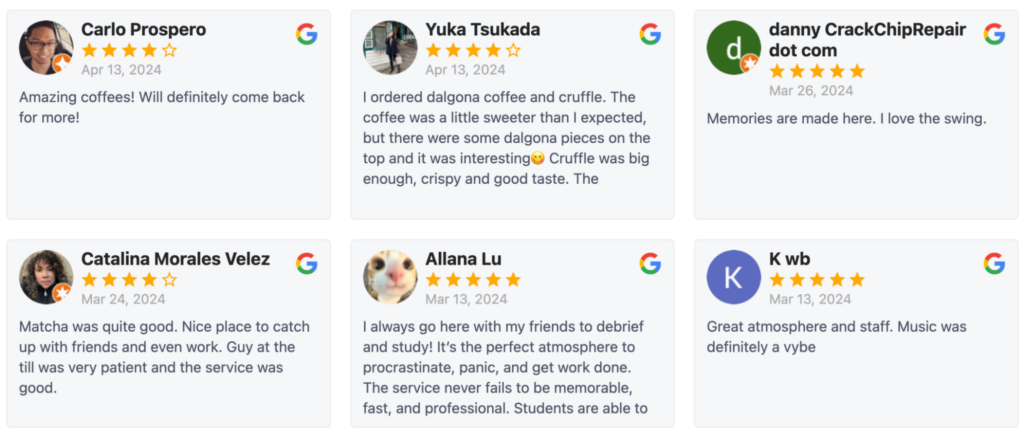
Once you generate reviews for your practice, showcase them on your website to let potential patients see that you run a respected and reputable practice.
You can pull up your top reviews automatically and have them displayed on your website by using the ReviewsOnMyWebsite reviews widget.
Here’s how:
Navigate to the “Widgets” section.
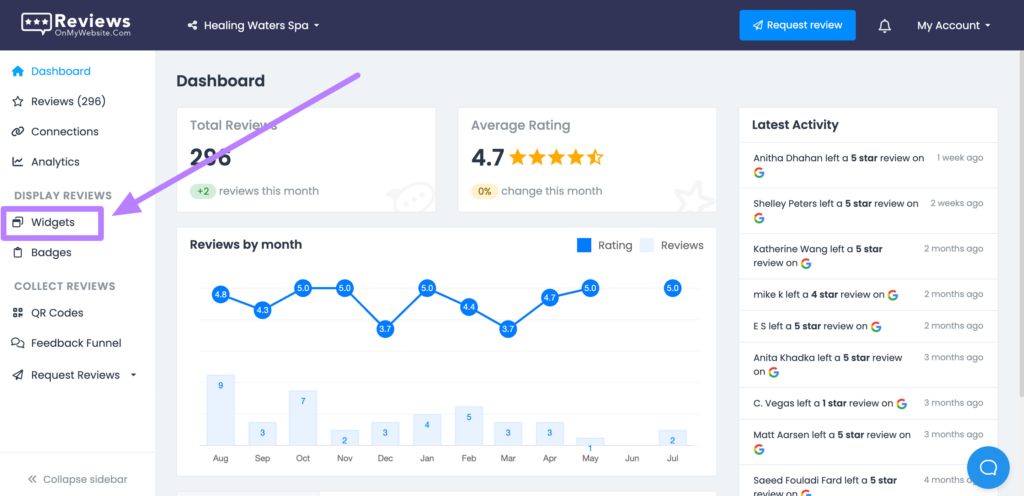
Click on “+Create new widget.”
Use the intuitive widget editor to customize your widget.
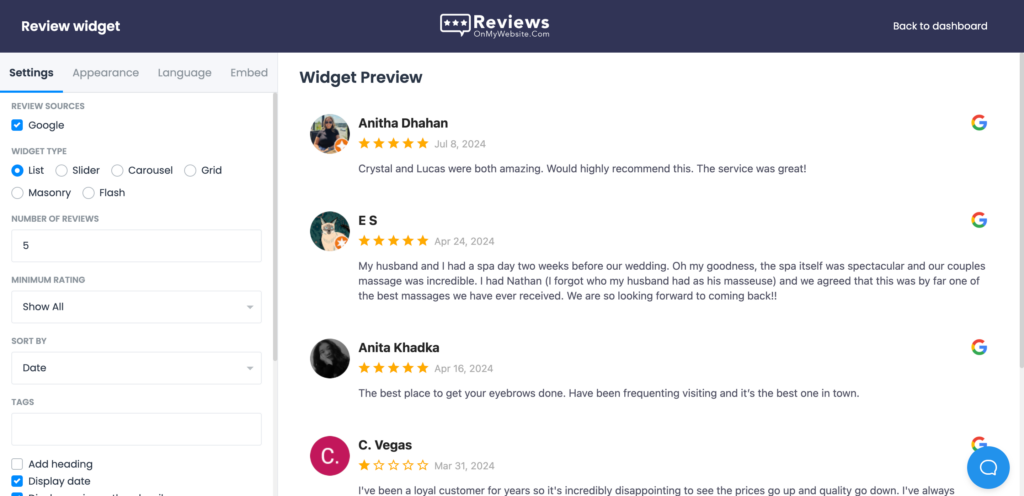
Once you’re happy with how the widget looks, go to the “Embed” tab and grab the embed code for your widget.

Add this code to your website to have the widget displayed at your desired location.

Improve your online reputation
Use ReviewsOnMyWebsite to manage and improve your practice's online reputation with ease.
Frequently asked questions about online reputation management for doctors
1. Why is online reputation important for doctors?
Patients will search Google when looking for a doctor, so having a strong online reputation will help instill trust and allow you to attract new patients.
2. Which review platforms should doctors focus on?
Key review platforms doctors should focus on include Google, Yelp, Healthgrades, WebMD, RateMDs, and Zocdoc. These are the most commonly used platforms by patients looking for a new doctor.
3. Can doctors ask patients to leave reviews?
Yes, doctors can ask patients to leave reviews, as long as they don’t offer incentives or violate HIPPAA guidelines.
4. Can I remove a negative review about my practice?
You usually can’t remove a negative review, but you can flag it if it violates the review platform’s guidelines (e.g., if it’s a fake review or spam).
5. What are the risks of not managing your online reputation?
Not managing your online reputation can lead to damaging your practice’s credibility and losing potential patients. Even a single bad review can hurt your reputation and make potential patients hesitant about choosing you as their provider.
6. Should doctors use professional reputation management services?
Using professional reputation management services can be helpful for doctors and practices that don’t have time to manage their online reputation. A reputation management professional or agency can help with monitoring and responding to online reviews, requesting patient feedback, and maintaing a positive online presence.
Stay on top of your online reputation
Actively managing your online reputation is crucial for having a successful practice in 2024.
Implement the above tips to protect your online reputation and drive more reviews for your practice.
While you’re here, check out our guide to the best doctor review sites you should keep an eye on.


